April 15, 2024
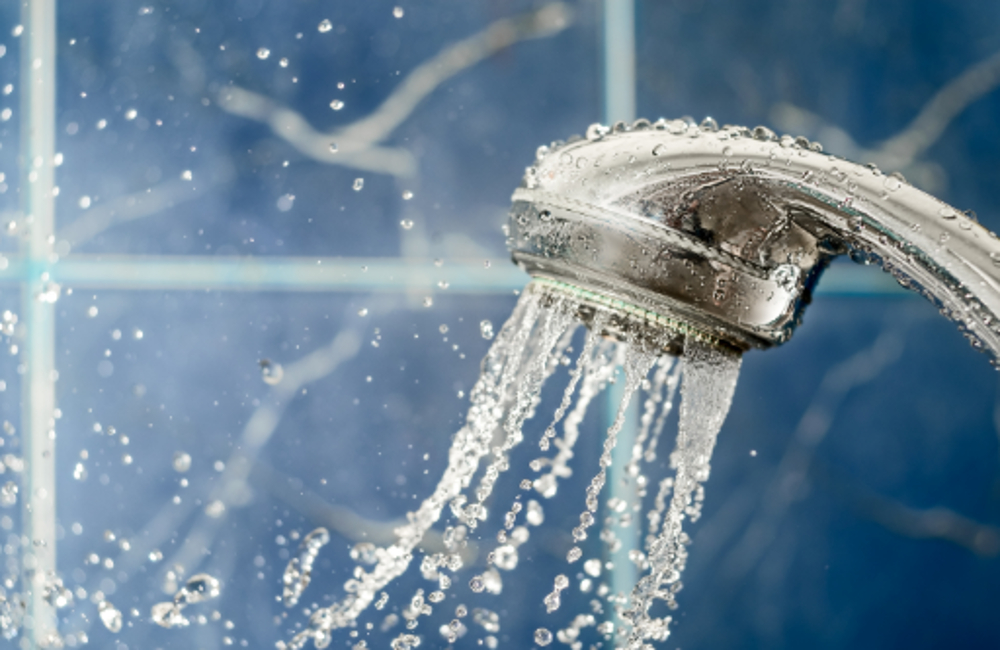
A shower base plays a crucial role in maintaining a watertight seal in your bathroom, preventing water from seeping into the floor and causing structural damage. However, over time, shower bases may develop cracks, compromising their integrity and leading to water leaks. In this guide, we’ll discuss expert tips for assessing and addressing shower base cracks to ensure the longevity and functionality of your bathroom.
Signs of Shower Base Cracks
Before diving into assessment and hiring professional shower base repair in Melbourne, it’s essential to recognize the signs indicating the presence of cracks in your shower base. Keep an eye out for discolouration, mildew growth, or water pooling around the base, as these can be visual cues of underlying cracks. Additionally, pay attention to any unusual sounds, such as creaking or shifting, when standing on the shower floor, as they may indicate structural issues.
Causes of Cracks in Shower Base
Understanding the underlying causes of shower leaks is crucial for effective repair and prevention. Structural movement, improper installation, or material deterioration are common factors contributing to crack formation. Structural movement, such as settling or shifting of the foundation, can put stress on the shower base, leading to cracks over time.
Improper installation, including inadequate support or uneven levelling, can create weak points prone to cracking. Material deterioration due to age, wear and tear, or exposure to harsh cleaning chemicals can also weaken the integrity of the shower base, making it more susceptible to cracks.
Assessment Process of Shower Base Crack
Inspect the surface for any visible damage when assessing shower base cracks. Use a flashlight to illuminate hard-to-reach areas, such as corners or edges, to ensure thorough examination. Next, gently tap on the surface with a rubber mallet to identify any hollow or uneven areas that may indicate underlying issues. Finally, run your hand along the surface to feel for any irregularities or rough patches indicating crack formation.
Addressing Minor Shower Base Cracks
DIY repairs using appropriate sealants or patching materials are effective for minor cracks in the shower base. First, thoroughly clean the cracked area with industry-grade detergent and water to remove any dirt or debris. Once the surface is clean and dry, apply a waterproof sealant or epoxy resin to fill in the crack, ensuring complete coverage. Smoothen out the sealant with a putty knife and allow the surface to dry completely before using the shower again. Properly follow the manufacturer’s instructions for best results.
Professional Shower Base Repair Options
If the cracks in your shower base are more significant or complex, professional repair options like Shower Care may be necessary. Epoxy injection, fibreglass reinforcement, or complete base replacement are common techniques professional plumbers use to address severe crack issues. Consult with a plumber to assess the damage and determine the appropriate repair solution for your specific situation.
Prevention of Shower Base Cracks
Preventing shower base cracks is essential for maintaining the integrity and functionality of your bathroom. Here are some effective prevention strategies to help you avoid costly repairs and water damage:
- Proper Installation: Ensure that a qualified professional installs your shower base correctly. Adequate support, levelling, and sealing during installation can help prevent stress points and weak spots that may lead to later cracks.
- Regular Maintenance: Perform regular maintenance tasks to maintain your shower base. Regularly clean the surface with mild detergent and water to remove dirt, soap scum, and other debris that can weaken the material over time.
- Avoid Harsh Chemicals: Don’t use harsh cleaning chemicals or abrasive cleaners on your shower base, as they can damage the surface and weaken the material. Instead, opt for gentle, non-abrasive cleaners that are safe for use on your specific shower base material.
- Sealant Application: Apply a waterproof sealant to your shower base’s grout lines and seams to prevent water infiltration. Reapply sealant to prevent moisture from seeping into the underlying structure.
- Proper Ventilation: Ensure adequate ventilation in your bathroom to prevent excess moisture buildup, which can weaken the shower base material and lead to mould and mildew growth. Use exhaust fans or open windows during and after showering to allow moisture to escape.
- Address Minor Issues Promptly: Regularly inspect your shower base for signs of damage, such as hairline cracks or loose tiles, and address any issues promptly. Repairing minor damage early can prevent it from escalating into more significant problems that require costly repairs.
- Use Non-Slip Mats: Place non-slip mats or rugs inside your shower to provide traction and prevent slips and falls. Avoid using abrasive scrub brushes or scouring pads on the shower base surface, as they can scratch and damage the material.
- Monitor Structural Movement: Watch for any signs of structural movement in your home, such as settling or shifting of the foundation. Structural movement can stress the shower base and lead to cracks, so addressing underlying issues can help prevent damage.
Shower base cracks can compromise the integrity of your bathroom and lead to water damage if left unaddressed. By recognizing the signs of crack formation, understanding the underlying causes, and following expert tips for assessment and repair, you can ensure the longevity and functionality of your shower base. Whether tackling minor cracks with DIY repairs or seeking professional assistance for more severe issues, taking proactive steps to address shower base cracks will help maintain a watertight seal and prevent costly repairs down the line.