March 11, 2024
Cracks in shower walls can lead to water leaks, which, if left unattended, can cause severe damage to your home. In this guide, we’ll explore how to spot hidden leaks by detecting cracks in shower walls and discuss essential tips for prevention and repair.
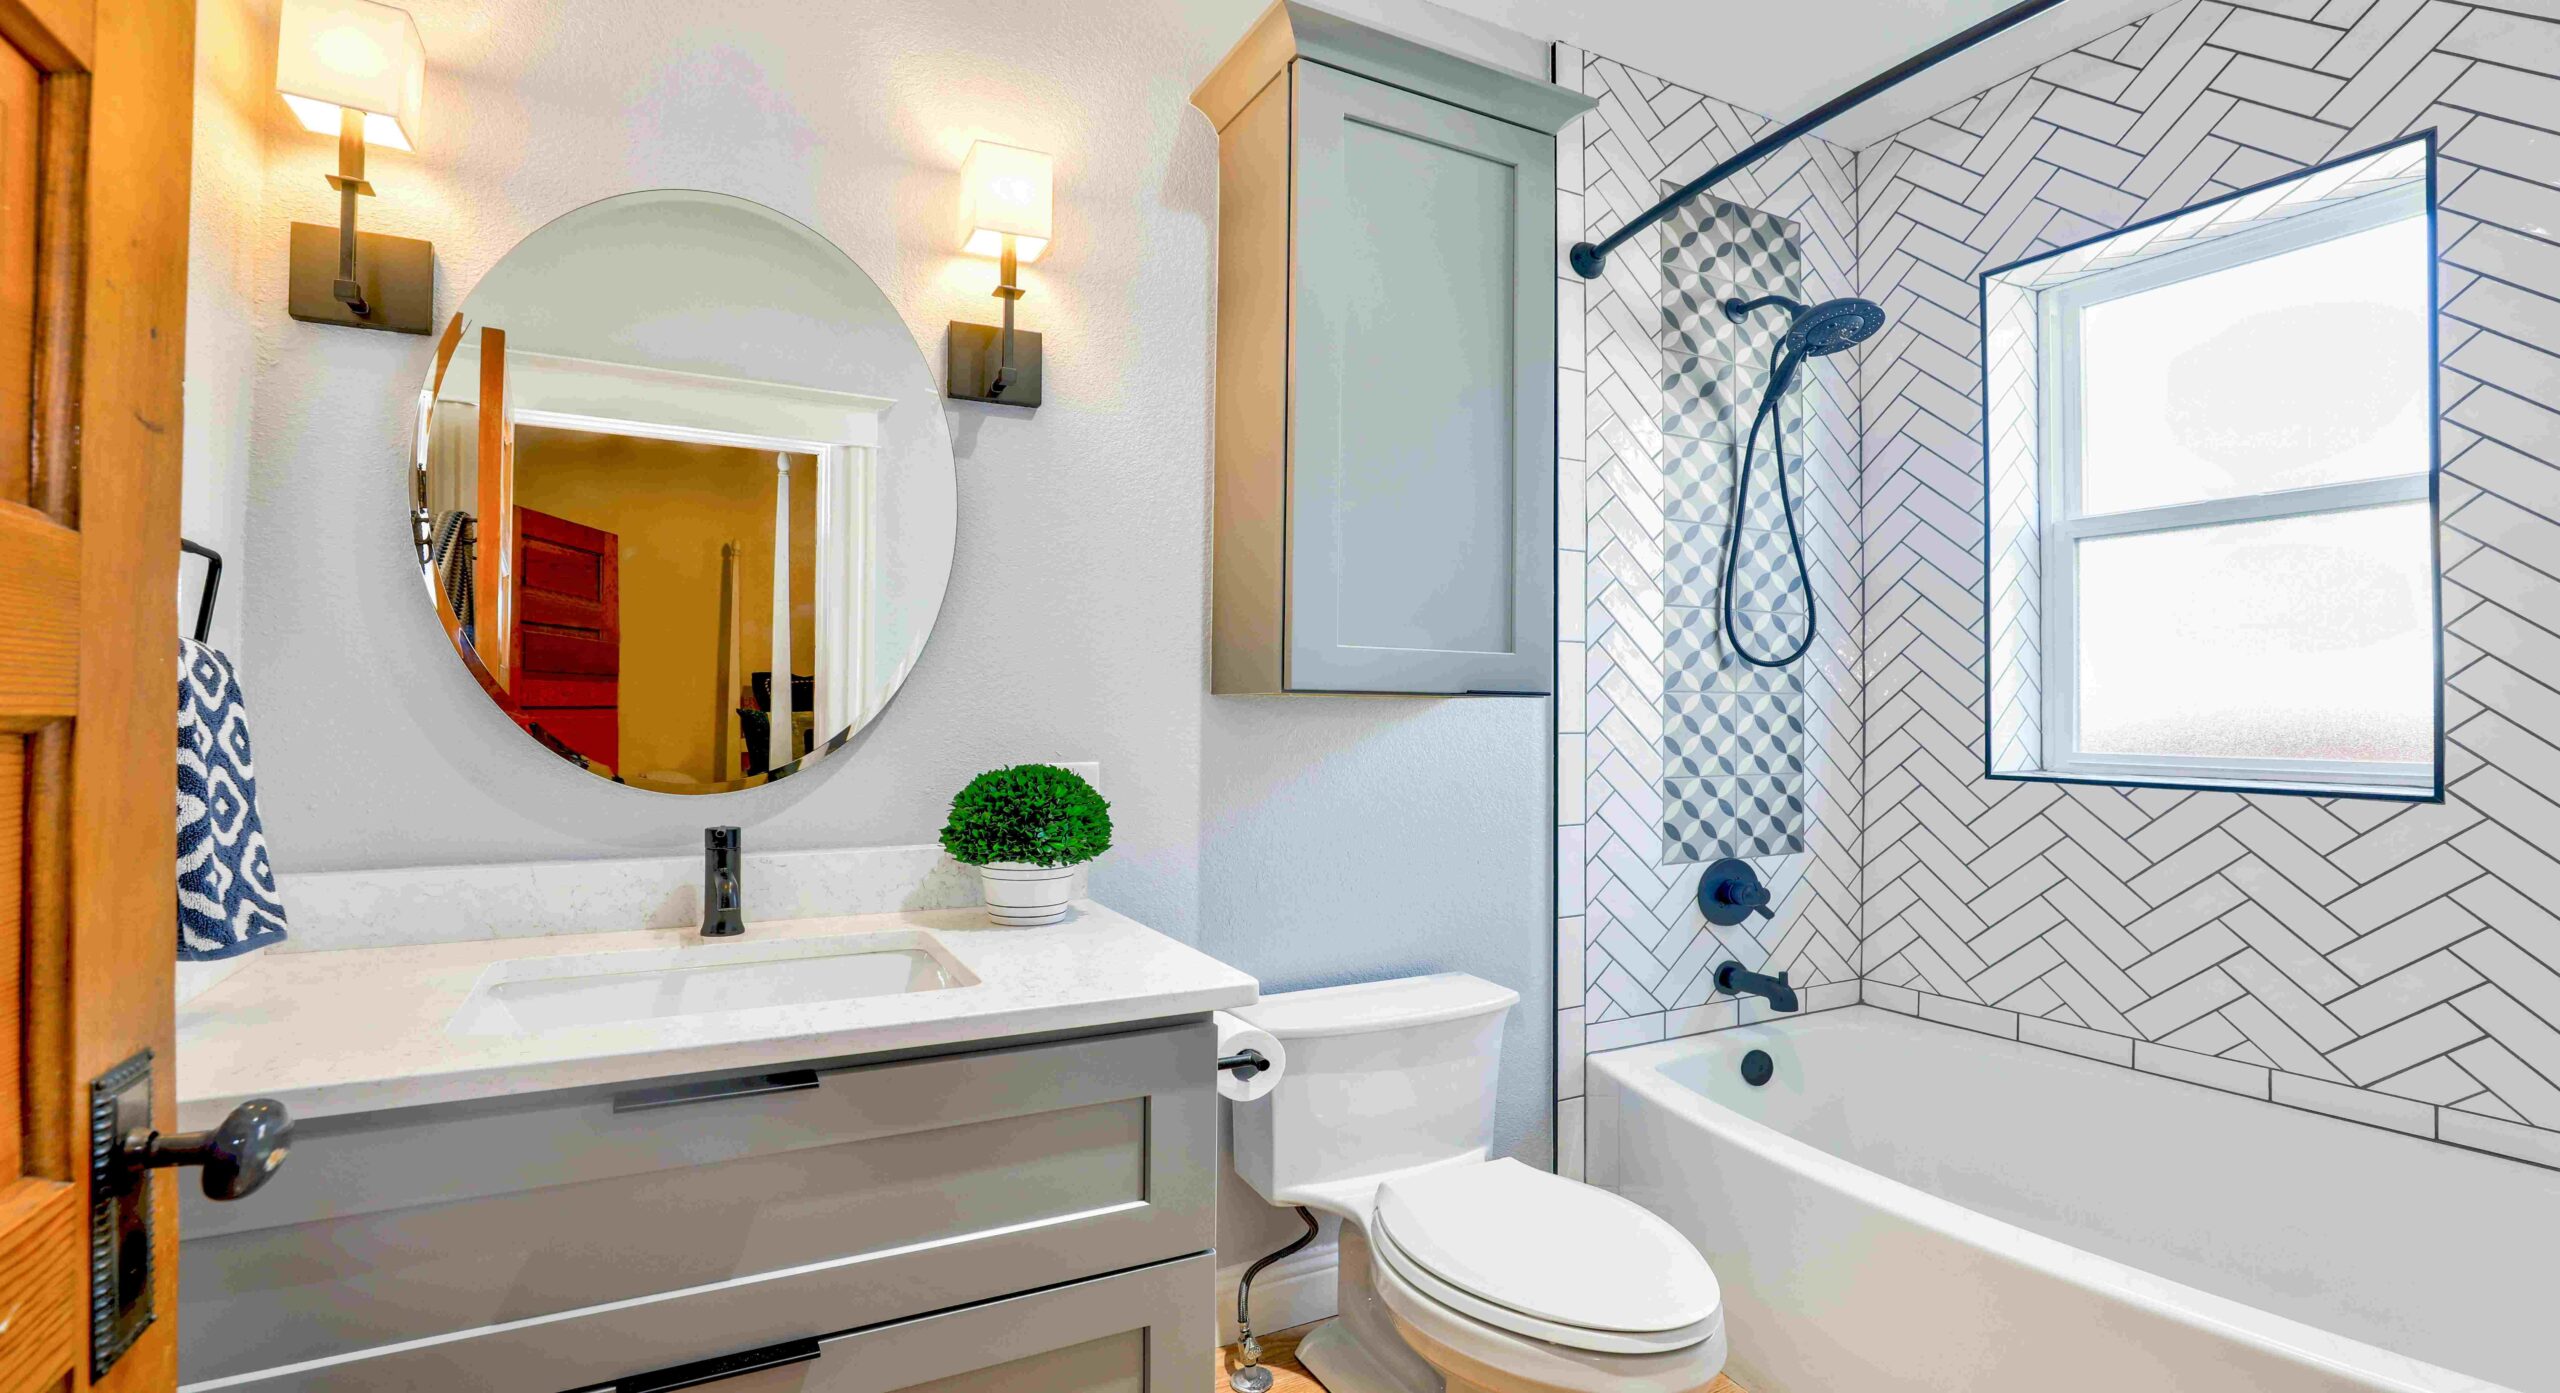
Signs of Cracks in Shower Walls
Be vigilant for signs of cracks in shower walls, such as discolouration, peeling paint or wallpaper, and bulging or soft spots. These indicators may suggest underlying water damage, which, if ignored, could lead to mould growth and structural problems. It’s crucial to closely monitor any alterations in the appearance or texture of your shower walls and take swift action to address them. By doing so, you can prevent further deterioration and safeguard the integrity of your bathroom.
Tools and Techniques for Detection
Visual inspection and specialized tools are utilized to detect shower wall cracks effectively. Begin by visually examining the walls for any signs of cracks or water damage. Then, employ a moisture meter to detect hidden moisture behind the walls. Consider utilizing thermal imaging technology to identify temperature variations, indicating potential water leaks. By combining these methods, you can comprehensively inspect your shower walls and uncover any concealed leaks.
Expert Diagnosis and Repair Tips for a Leak-Free Bathroom
You also need to take care of the shower base and walls for a leak-free bathroom. Here are a few tips for taking care of the shower base.
Diagnosis of Crack in Shower Base: Cracks in shower bases are often caused by structural issues, improper installation of bathroom fixtures, or wear and tear over time. To diagnose cracks in the shower base, visually inspect the surface for any visible cracks or damage. A water test should also be conducted by plugging the drain and filling the base with water to see if any leaks occur. If you notice any cracks or leaks, you must address them promptly to prevent water damage to your home.
Repairing of Shower Base Cracks: Repairing crack in the shower base typically involves patching the damaged area with epoxy or silicone sealant and reinforcing it with fibreglass mesh tape for added strength. Start by cleaning the area around the crack and removing debris or loose material. Then, apply the epoxy or silicone sealant to the crack evenly with a putty knife. Next, place a fibreglass mesh tape over the crack to reinforce the repair. Finally, let the adhesive dry thoroughly before using the shower again. If you need help repairing cracks in the shower base, consider hiring a professional plumber or contractor. It would be best if you hire a professional service to repair cracks.
DIY Tips to Repair Shower Wall Cracks
Dealing with cracks in your shower walls? Here are some quick DIY tips to help you address them:
- Clean the Area: Start by cleaning the cracked area thoroughly to ensure a clean surface for repairs.
- Fill the Crack: Use waterproof caulk or epoxy to fill the crack, ensuring it’s filled.
- Smooth Out: Once the caulk or epoxy has cured, smooth the surface for a seamless finish.
- Apply Sealant: Apply a waterproof sealant over the entire surface of the shower walls to prevent future cracks.
- Maintain Regularly: Keep your shower walls clean and dry, and inspect them regularly for any new cracks or damage.
Importance of Professional Inspection
While DIY inspection and repair methods can be effective, it’s essential to seek professional inspection and repair services for more severe or persistent issues. Trained professionals have the expertise and experience to accurately identify hidden leaks and structural problems.
Additionally, they possess specialized test and repair tools and equipment that may not be available to the average homeowner. By investing in professional inspection and repair services, you can ensure that any cracks or leaks in your shower walls and base are addressed effectively, preventing further damage to your home.
Preventive Maintenance Tips
To prevent cracks and leaks in your shower walls and base, consider implementing the following preventive maintenance tips:
- Regularly inspect shower walls and base for any signs of wear and tear or damage.
- Seal grout and caulk regularly to prevent water intrusion and mould growth.
- Avoid the use of harsh cleaning chemicals that can damage the surface of your shower walls and base.
- Promptly address any signs of cracks or leaks to prevent further damage to your home.
Conclusion:
By remaining vigilant and proactive in identifying and addressing cracks in your shower walls and base, you can effectively prevent water damage and uphold the integrity of your bathroom. If you observe any cracks or leaks, it’s crucial to take immediate action and seek professional help as needed. Through consistent maintenance and timely repairs, you can ensure that your shower walls and base remain in optimal condition, providing you with a leak-free bathroom environment for years to come.
Rely on Shower Care for professional care. We prioritize your shower’s longevity. Contact us now to schedule an inspection for a leak-free future in your dream bathroom.