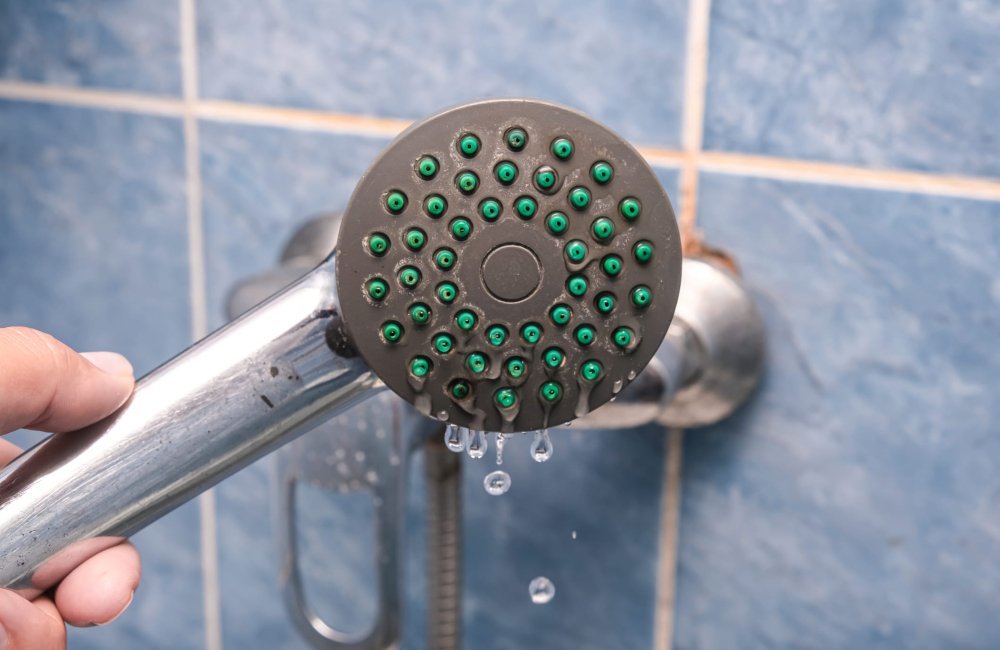
A soothing shower can quickly turn frustrating when faced with the persistent drip-drip-drip of a leaky showerhead. Not only is it an annoyance, but it also causes fresh water wastage and increased electricity bills. If you’re tired of the constant drip and want to get to the bottom of the issue, you’ve come to the right place. In this blog, we will explore the leading causes of a dripping showerhead and how to address them effectively.
Worn-out Washer
One of the most common reasons for a dripping showerhead is a worn-out washer. Over time, the rubber or silicone washer inside the showerhead can deteriorate, resulting in leaks. This issue is often accompanied by a slow, steady drip even after turning off the shower. Replacing the washer is a simple job that can be done with basic tools.
Loose Connections
Another culprit behind a dripping showerhead is loose connections. If the connections between the showerhead, shower arm, or pipe are not tightened properly, water can seep through the gaps, causing leaks. Checking and tightening these connections with a wrench or pliers can often resolve the issue.
Mineral Build-up
The mineral build-up, commonly known as limescale, can also contribute to a dripping showerhead. When minerals from hard water accumulate inside the showerhead, they can obstruct the water flow and lead to leaks. Cleaning the showerhead regularly with vinegar or a commercial descaling solution can help dissolve mineral deposits and restore proper water flow.
Faulty Seals or O-rings
Faulty seals or O-rings within the showerhead assembly can also result in leaks. These seals are designed to prevent water from escaping through the joints and connections of the showerhead. If the seals are damaged or worn out, they may not provide an effective barrier against leaks. Replacing the seals or O-rings can often resolve the issue and stop the dripping.
High Water Pressure
Excessively high water pressure can strain the showerhead’s components, leading to leaks over time. If your showerhead is dripping despite having addressed other potential causes, it may be worth checking the water pressure in your home. Installing a pressure-reducing valve or adjusting the pressure regulator can help alleviate the problem.
These are some common causes of dripping showers and repair hacks, and we hope they will come in handy in case you find your showerhead leaking.
Tips to Take Care of Showerbase Cracks
Along with showerhead leakage, people often face issues like cracked shower bases. If left unaddressed, a cracked shower base can lead to water leaks, structural damage, and mould growth. While seeking professional assistance for significant cracks or structural issues is essential, here are some steps to mitigate the problem and prevent further damage.
1. Clean and Dry the Area:
Clean the cracked area with a mild detergent and water. Wash the area well and allow it to dry completely before proceeding with any repair efforts. Removing dirt, soap scum, and moisture from the crack will ensure better adhesion of repair materials.
2. Assess the Severity of the Crack:
Inspect the crack to determine its size, depth, and location. Hairline or small surface cracks may be manageable with DIY repair methods, while more extensive or significant cracks may require professional intervention. If the crack goes through the shower base or is accompanied by structural problems, it’s best to seek help from a professional.
3. Choose the Right Repair Material:
Select an appropriate repair material based on the type of shower base and the severity of the crack. Epoxy-based repair kits or acrylic patching compounds are commonly used for minor surface cracks, while fibreglass or acrylic repair kits may be suitable for larger cracks or structural repairs. Ensure that the repair material is compatible with the material of your shower base.
4. Follow Manufacturer Instructions:
Follow the manufacturer’s instructions carefully when applying the chosen repair material. Prepare the area according to the product guidelines, and apply the repair material evenly over the crack using a putty knife or applicator. Allow sufficient time for the repair material to cure and harden before the shower.
5. Seal and Waterproof:
Once the repair material has cured, consider applying a waterproof sealant or epoxy coating over the repaired area to provide additional protection against moisture and water infiltration. This will prevent future leaks and prolong the lifespan of the repair.
6. Monitor for Signs of Damage:
Inspect the repaired area regularly for any signs of damage, such as new cracks, leaks, or discolouration. Promptly resolve any issues to prevent further damage and ensure the integrity of your shower base.
7. Consider Professional Assistance:
If you need help repairing the crack or if the damage is extensive, it’s best to seek professional assistance. A qualified plumber like Shower Care can assess the situation, recommend the appropriate repair solution, and ensure the repair is done correctly to prevent future problems.
In summary, addressing dripping showerheads and cracks in shower bases promptly is essential for maintaining a functional and leak-free bathroom. By understanding the causes of these issues and following recommended repair methods, you can effectively resolve them and prevent further damage. Remember, seeking professional assistance for complex repairs is always an option. With proactive care, you can ensure a more enjoyable and hassle-free bathing experience.
