The shower space is an essential part of the aesthetics of the bathroom. Sometimes, cracks in the shower base or issues with the shower head fixtures can cause it to malfunction. This blog will explore how to care for showers and get professional shower base crack repair services in Melbourne.
When should you consider cleaning the shower head?
Before going further, let me know why you should consider cleaning the showerhead. Here are some signs that indicate it’s time to clean your shower head:
Before going further, let me know why you should consider cleaning the showerhead. Here are some signs that indicate it’s time to clean your shower head:
Reduced Water Flow
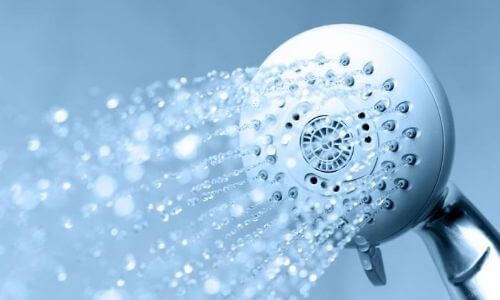
Reduced water flow or pressure in the showerhead is a sure-shot sign of a problem. If you notice a decrease in water pressure or uneven spray patterns from the shower head, it could be due to mineral buildup blocking the spray nozzles.
Visible Buildup
Inspect the surface and pores of the shower head for any visible buildup of white or greenish deposits. Minerals in hard water often cause this and can deteriorate the looks and functionality of the shower head.
Mould or Mildew Growth
In humid environments, mould and mildew can develop on the surface or in the base of the shower head. If you notice any black or dark spots, it’s a sign that the shower head needs to be cleaned to prevent further mould growth.
Unpleasant Odors
If your shower emits a foul smell, it could be due to bacteria or mould growing inside the shower head. Cleaning the shower head can help eliminate these odours and improve the overall cleanliness of the bathroom.
Taking Care of the Showerhead
Once the problem has been detected, there are various remedies to clean the showerhead. Here are some steps you can take to service your shower:
Clean the Showerhead
Mineral deposits can accumulate over time and clog the spray holes in your showerhead, leading to reduced water pressure. Remove the showerhead and soak it in vinegar and water to dissolve the deposits. Use an old toothbrush to scrub away any remaining residue.
Inspect and Replace Caulk
Check the caulking around the edges of your shower to ensure it’s in good condition. If you notice any cracks or gaps, remove the old caulk and reapply a new bead to prevent water from seeping into the walls.
Scrub the Tiles
mould and mildew can develop on the tiles and grout in your shower. Use a scrub brush and a mildew remover to clean the tiles thoroughly. For stubborn stains, you may need to use a grout brush or a mixture of baking soda and water to scrub away the dirt.
Check for Leaks
Inspect the shower faucet and pipes for any signs of leaks. If you notice water dripping from the faucet or pooling on the floor, you may need to replace worn-out washers or seals to prevent further damage.
Test the Drain
Pour some water down the drain to ensure it’s flowing freely. If you notice any slow drainage, you may need to remove hair and debris from the drain using a drain snake or plunger.
Replace Old Fixtures
If your shower fixtures are outdated or malfunctioning, consider replacing them with newer, more efficient models. This can improve the appearance and
functionality of your shower while also conserving water and energy.
How to Take Care of Shower Base Cracks
But to keep the bathroom appearance sound, you also need to consider the shower base’s health. Due to regular usage, cracks may appear in the shower base, which can cause water seepage in the walls and floor of the bathroom, impacting the look and feel of the bathroom. Here are some tips to take care of shower base cracks.
Assess the Damage
Examine the extent of the cracks. Determine if they are superficial or if they penetrate through the entire thickness of the shower base.
Stop Using the Shower
Avoid using the shower until you’ve addressed the cracks to prevent water from seeping into the cracks and causing further damage.
Clean the Area
Clean the shower base cracks thoroughly to remove any dirt, debris, or soap scum. Use a mild detergent and water to clean the surface. Allow it to dry completely before proceeding.
Apply Repair Kit
You can purchase a repair kit designed for repairing shower base cracks from your local hardware store. These kits typically contain epoxy resin or fibreglass patching material that can be used to fill and reinforce the cracks.
Professional Repair Services
You may repair the shower base with the help of a DIY kit, but it is not as easy as it seems. They may contain fibreglass or epoxy resins to repair shower base cracks; handling them takes a lot of work. If misapplied, it can worsen the problem, so hiring a professional shower base crack repair will be a wise step.
Conclusion
Maintaining your shower’s cleanliness and functionality is critical to a pleasant bathroom experience. Regularly cleaning the showerhead, tiles, and grout and promptly repairing shower base cracks can prevent issues and preserve your bathroom’s integrity.
While DIY methods work for some tasks, professional assistance may be necessary for complex repairs. These guidelines will ensure a clean, functional, inviting shower space for years.
For those in Melbourne needing professional assistance, consider shower base repair in Melbourne for expert solutions. Shower Care is committed to providing top-notch services, ensuring your shower remains in excellent condition.
