March 18, 2024
When it comes to shower repairs, homeowners often face the dilemma of deciding whether to tackle the task themselves or enlist the help of a professional. While both options have their merits, choosing the most cost-effective approach requires careful consideration of various factors. This blog will explore the Cost-Effective Approach to Shower Repair and some DIY shower base crack repair hacks.
DIY Shower Repair: Pros and Cons
Taking the do-it-yourself route for shower repair can be cost-effective for homeowners looking to save money on labour costs. With many online tutorials and DIY resources available, many people feel confident in handling basic shower repairs such as fixing leaky faucets, replacing shower heads, or re-caulking tiles.
Pros:
- Cost Savings: DIY shower repair can significantly reduce labour costs, as you won’t have to pay for professional services.
- Flexibility: You can work on your schedule and take your time to complete the repair project without relying on a contractor’s availability.
- Learning Experience: Engaging in DIY repairs presents an opportunity to acquire new skills and develop a deeper understanding of your home’s plumbing and fixtures.
Cons:
- Limited Expertise: DIYers may need more specialized knowledge and experience to diagnose and address complex shower issues effectively.
- Time-Consuming: Repairing a shower yourself can be time-consuming, especially if you encounter unforeseen challenges or mistakes along the way.
- Risk of Errors: Inexperienced DIYers may inadvertently cause damage or make mistakes that could lead to more extensive repairs and increased costs in the long run.
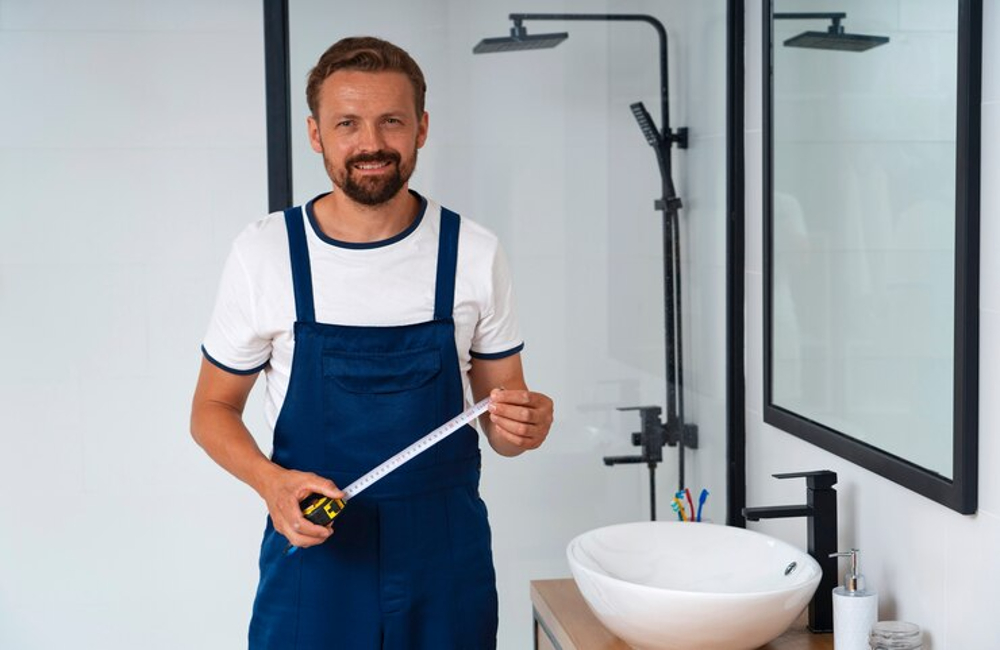
Benefits of Hiring a Professional Shower Repair Service
Alternatively, hiring a professional plumber or contractor to handle your shower repair ensures the job is done correctly and efficiently. While this option may entail higher upfront costs, it offers peace of mind and quality assurance. Here are the benefits of hiring a professional.
- Expertise: Professionals possess the expertise, tools, and experience needed to swiftly and effectively diagnose and fix various shower issues.
- Time-Saving: Enlisting a professional can speed up the repair process, reducing interruptions to your daily routine and swiftly restoring your shower to full functionality.
- Warranty Protection: Several professional repair services provide warranties or guarantees on their work, offering additional protection and recourse in case any issues arise following the repair.
DIY Shower Base Cracks Hacks
A leaking shower base not only ruins the bathroom’s aesthetics but can also compromise the home’s structural integrity. Repairing a cracked shower base can seem daunting, but it’s a manageable task with the right approach. Here are some DIY hacks to help you fix a crack in shower base:
- Assess the Damage: Start by examining the extent of the crack. Determine if it’s a superficial surface crack or if it penetrates deeper into the base.
- Clean the Area: Thoroughly clean the cracked area using a mild detergent and water. Remove any debris or soap scum to ensure proper adhesion of the repair material.
- Fill the Crack: Opt for a waterproof epoxy or acrylic-based filler for minor surface cracks. Follow the manufacturer’s instructions carefully to apply the filler, ensuring it adequately fills the crack and aligns with the surrounding surface level.
- Reinforce with Fiberglass Mesh: For more significant or profound cracks, consider reinforcing the repair with fiberglass mesh tape. Apply a filler layer over the crack, then embed the fiberglass tape into the filler while it’s still wet. Smooth out any wrinkles or air bubbles and allow it to dry completely.
- Sand and Smooth: Once the filler has cured fully, use fine-grit sandpaper to smooth any rough edges or uneven surfaces in the repaired area. Then, wipe away any dust residue with a damp cloth for a clean finish.
- Apply a Waterproof Sealant: To ensure the repair is watertight, apply a waterproof sealant over the repaired area. Choose a sealant specifically designed for use in wet environments like showers, and follow the manufacturer’s instructions for application.
- Allow Time to Cure: Give the sealant ample time to cure before showering. This typically requires at least 24 hours, but check the product label for specific curing times.
Choosing the Right Approach for You
In the end, whether to opt for a DIY shower repair or enlist professional help hinges on your comfort level, budget, and the complexity of the repair job. Minor maintenance tasks are often suitable for a DIY approach, but for more intricate or extensive issues, professional intervention may be necessary to achieve a satisfactory result.
Before embarking on a DIY repair project, thoroughly evaluate your skills, research the required steps and tools, and weigh the potential risks and benefits. Feel free to seek Shower Care professional assistance if you feel uncertain about your ability to handle the repair or if the problem seems too complex. Doing so can help prevent costly mistakes and ensure a successful outcome.
Considering the advantages and disadvantages of both DIY and professional shower repair options allows you to make a well-informed decision that matches your budget, schedule, and desired results. Whether you take on the repair independently or enlist the expertise of a professional, the ultimate objective is consistent: to restore your shower to its best condition and relish a revitalizing and functional bathing experience.